
 The Build Process begins with an idea. Your idea. A custom bolt action rifle is custom only to you, so every detail needs to be thought out carefully. The purpose, style, and feel of the rifle are all things that must be considered when planning a build. This is when the caliber, barrel length, and stock are selected. After this, the fine details such as bolt options, trigger, magazines, finish, and sighting systems are sorted out. Before any work begins, every aspect of your custom bolt action rifle has been selected by you, the shooter, to meet whatever your needs may be. During this time, I am here to answer any questions and make recommendations based off my experiences.
The Build Begins
After planning is complete and a down payment of 50% has been received, the parts for your custom bolt-action rifle are ordered. The lead-time varies based on the availability of parts. A typical lead-time is approximately 3-6 months. Once all of the parts arrive, machining can begin.
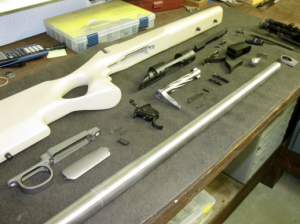
The following slide show is to give you an idea of what exactly goes into building a custom bolt-action rifle. It is not meant to be an instructional presentation for the at home do-it-yourselfers. There may be any number of ways to achieve the same goal, this is simply my way, I believe this to be the best way to assure accuracy in a rifle.
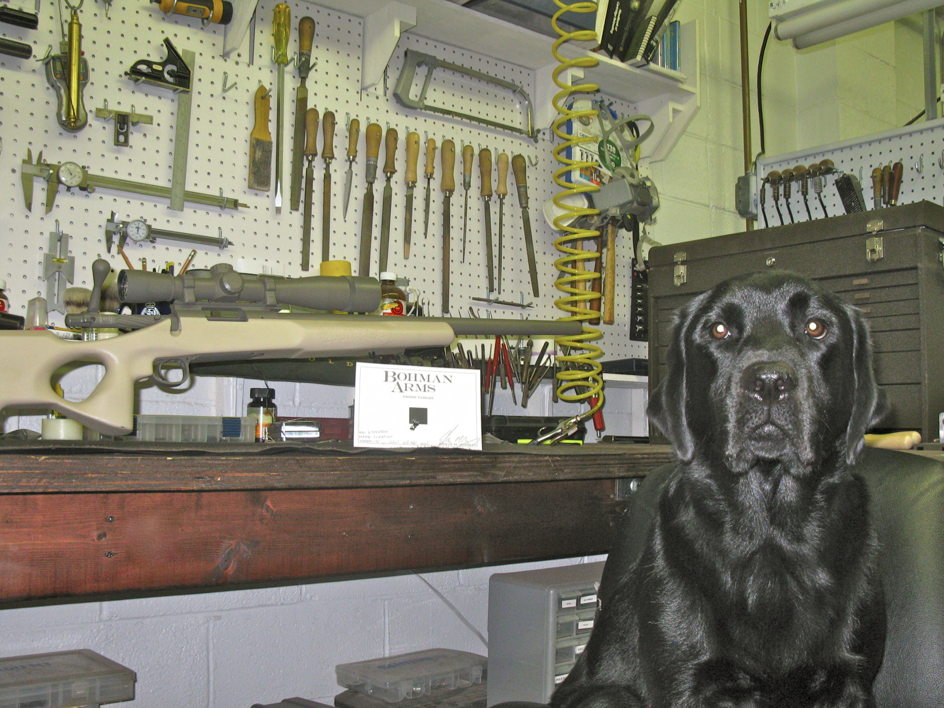
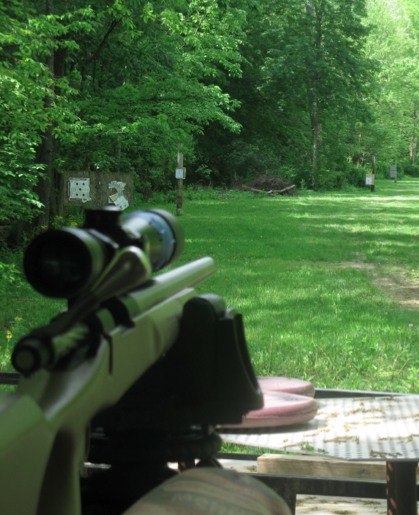 The rifle is now assembled and tested for function and accuracy. I do all of my testing at 100 yards. I believe this to be an ideal distance to test for accuracy, unless a further distance is needed to stabilize the bullet. I test off of a bench with factory-‐loaded ammunition. There are too many variables involving accuracy to discuss here, but a typical rifle I build shoots .1-‐.5” groups with factory loaded ammunition.
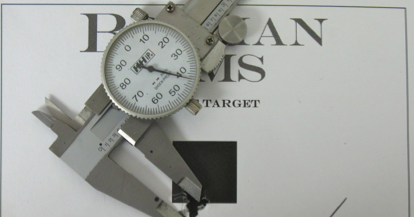 .342” at 100 yards. Not bad, even with a solid rest off of a bench, it is very difficult to shoot groups much better than this. I can do it, but not every day of the week. I am very pleased with the way this rifle shot. An official Bohman Arms Proof Target is included with every rifle I build.