

 The Build Process begins with an idea. Your idea. A custom bolt action rifle is custom only to you, so every detail needs to be thought out carefully. The purpose, style, and feel of the rifle are all things that must be considered when planning a build. This is when the caliber, barrel length, and stock are selected. After this, the fine details such as bolt options, trigger, magazines, finish, and sighting systems are sorted out. Before any work begins, every aspect of your custom bolt action rifle has been selected by you, the shooter, to meet whatever your needs may be. During this time, I am here to answer any questions and make recommendations based off my experiences.
The Build Begins
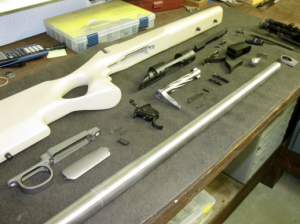
After planning is complete and a down payment of 50% has been received, the parts for your custom bolt-action rifle are ordered. The lead-time varies based on the availability of parts. A typical lead-time is approximately 3-6 months. Once all of the parts arrive, machining can begin.
The following slide show is to give you an idea of what exactly goes into building a custom bolt-action rifle. It is not meant to be an instructional presentation for the at home do-it-yourselfers. There may be any number of ways to achieve the same goal, this is simply my way, I believe this to be the best way to assure accuracy in a rifle.
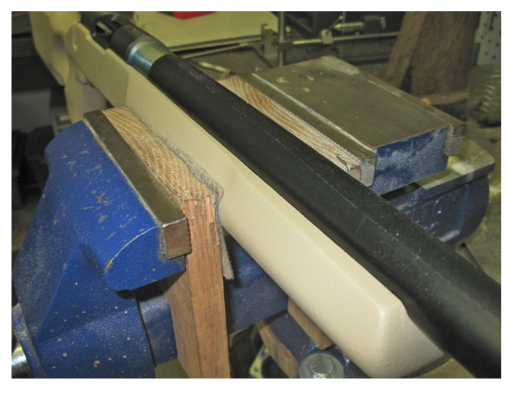 The barreled action fit into the stock prior to bedding. Tape on the barrel is used to ensure a free floating barrel channel.
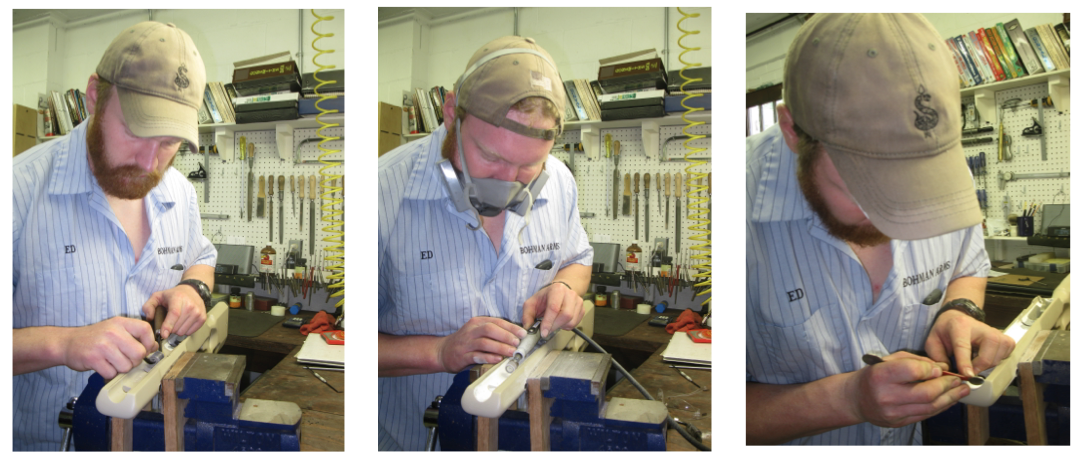
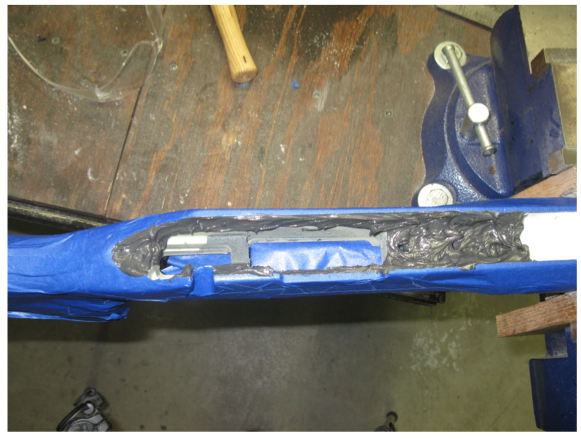 I use a three step bedding process on my custom bolt-‐action rifles. First, the pillars are installed. Once the pillars are installed, all extra bedding compound is removed so that nothing but the pillars are in contact with the receiver. Step two consists of applying the steel bedding compound into the stock, the barreled action is then installed into the stock using special stock maker’s screws. After it has cured, step three involves bedding the bottom metal. Bedding rifles is an art form in-‐itself. The stock is then held in the milling machine vise, and the bedding material is cleaned up.
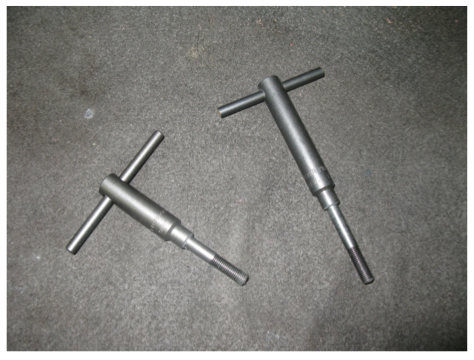 Stock Maker’s Screws
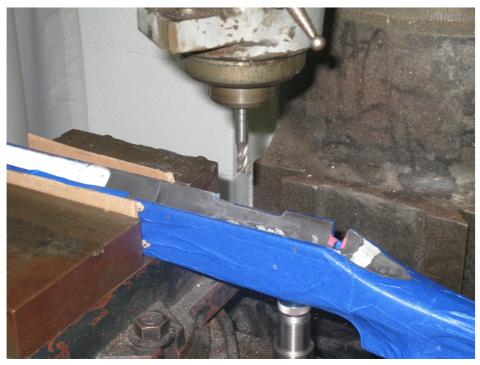 Cleaning up excess bedding compound on the mill.
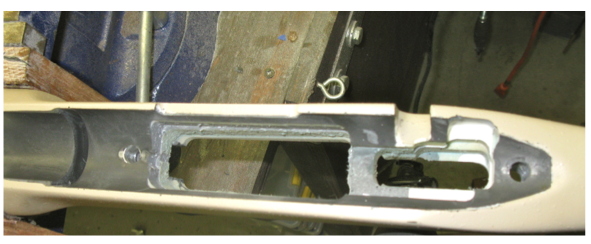 Bedding complete.