
 The Build Process begins with an idea. Your idea. A custom bolt action rifle is custom only to you, so every detail needs to be thought out carefully. The purpose, style, and feel of the rifle are all things that must be considered when planning a build. This is when the caliber, barrel length, and stock are selected. After this, the fine details such as bolt options, trigger, magazines, finish, and sighting systems are sorted out. Before any work begins, every aspect of your custom bolt action rifle has been selected by you, the shooter, to meet whatever your needs may be. During this time, I am here to answer any questions and make recommendations based off my experiences.
The Build Begins
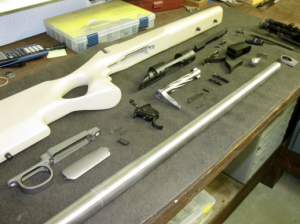
After planning is complete and a down payment of 50% has been received, the parts for your custom bolt-action rifle are ordered. The lead-time varies based on the availability of parts. A typical lead-time is approximately 3-6 months. Once all of the parts arrive, machining can begin.
The following slide show is to give you an idea of what exactly goes into building a custom bolt-action rifle. It is not meant to be an instructional presentation for the at home do-it-yourselfers. There may be any number of ways to achieve the same goal, this is simply my way, I believe this to be the best way to assure accuracy in a rifle.
 The receiver is now blueprinted. There are still a couple of steps before threading and chambering the barrel. A special jig is installed into the front of the receiver to lap the bolt lugs and their respective recesses. This is done only to remove any machining marks left from blueprinting since 100% contact has already been achieved. Measurements can then be taken for the barrel tenon.
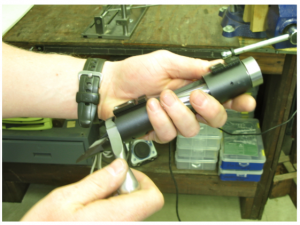
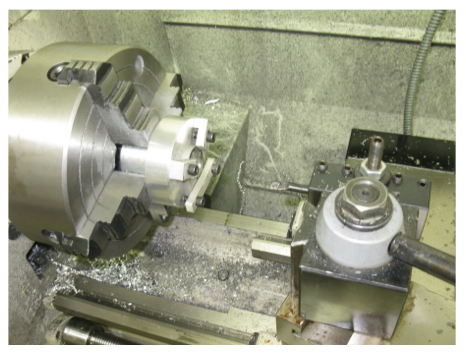 Now that the internal threads on the receiver have been opened slightly, the recoil lug must also be opened to accept the larger barrel tenon. This is done on the lathe using a special clamping jig to hold the lug.
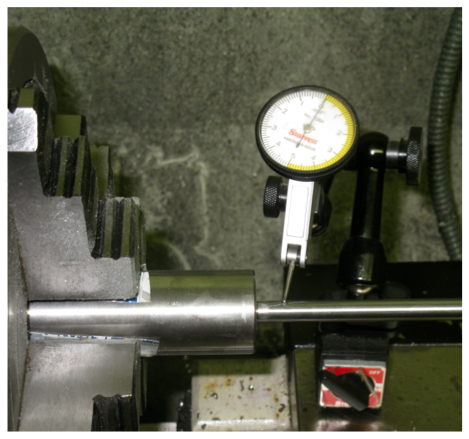 Next the stainless Match Grade barrel from Rock Creek Barrels is indicated on the lathe. I dial it in to the same accuracy as the receiver using a piloted indicator rod. Now the barrel tenon can be cut and threaded prior to chambering.
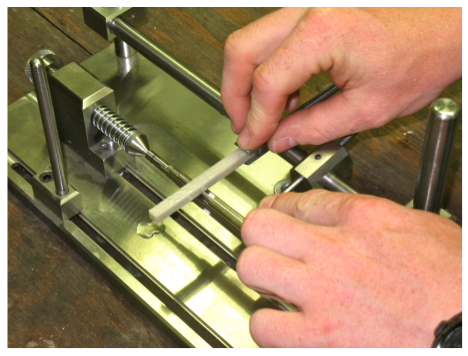 Prior to cutting the chamber, the reamer is sharpened using a custom jig. This is done to maximize tool life and ensure an exceptional finish in the chamber itself. The chamber is cut only deep enough for minimal headspace.
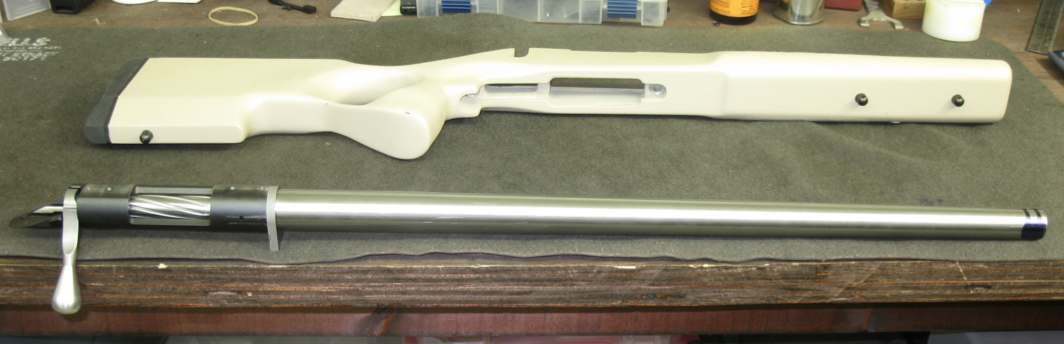
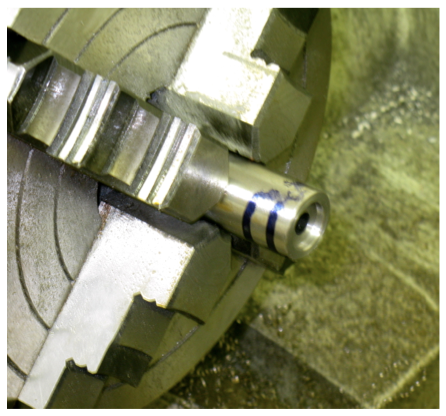 The barrel is now turned around in the lathe and re-‐indicated to cut the crown. If a muzzle brake is desired, the threads for the brake are cut at this time. On this particular rifle, a muzzle brake is not desired, the recessed target crown is then cut.